audio technica at lp120 usb manual
Audio-Technica AT-LP120-USB Manual: A Comprehensive Guide
This manual details the Audio-Technica AT-LP120-USB turntable’s setup, operation, digitizing vinyl, maintenance, and advanced features for optimal performance.
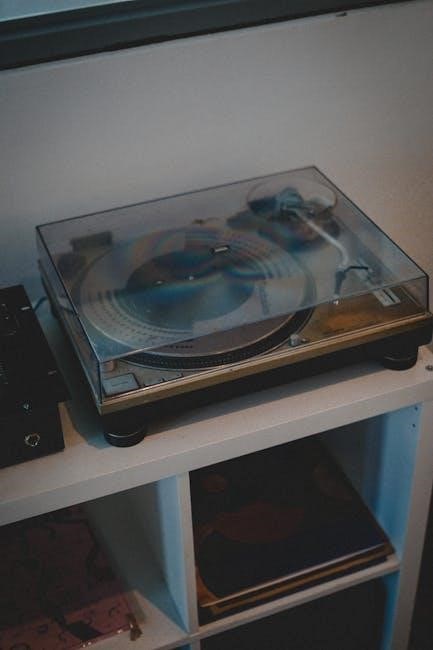
The Audio-Technica AT-LP120-USB is a direct-drive, high-torque professional turntable designed for both home listening and digital archiving of vinyl records. This versatile turntable combines classic turntable functionality with modern USB connectivity, allowing seamless conversion of your favorite albums to digital formats.
It’s a popular choice for DJs, vinyl enthusiasts, and anyone looking to rediscover their record collection. The AT-LP120-USB offers adjustable tracking force and anti-skate control, ensuring accurate playback and minimizing wear on your vinyl. Furthermore, it supports 33 ⅓, 45, and 78 RPM speeds, accommodating a wide range of record types. This manual provides a comprehensive guide to unlocking the full potential of your AT-LP120-USB.
Unboxing and Initial Setup
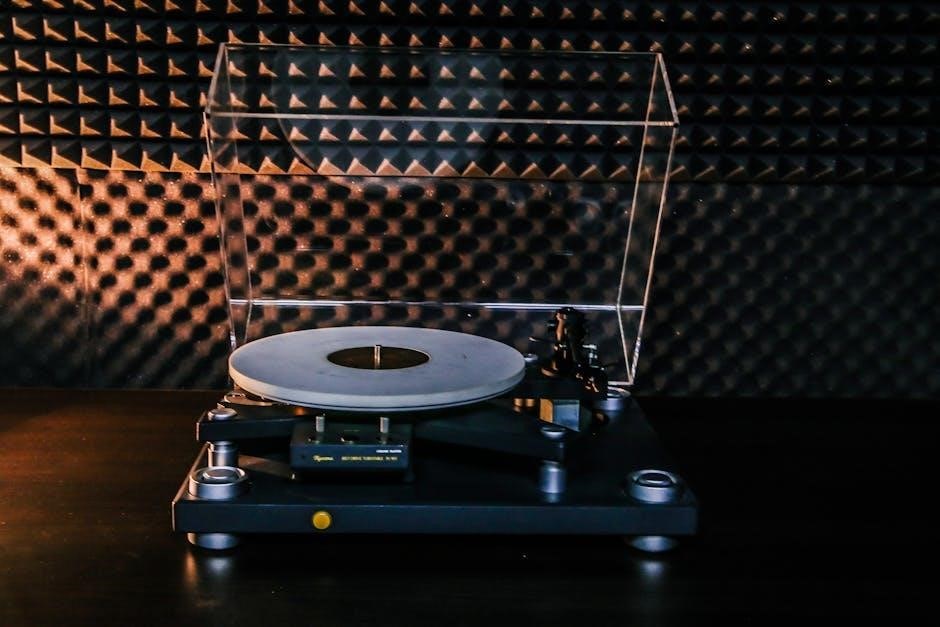
Carefully unpack your Audio-Technica AT-LP120-USB, ensuring all components are present: the turntable base, platter, tonearm, dust cover, USB cable, adapter, and this manual. Inspect for any shipping damage. Before connecting to power, place the turntable on a stable, level surface, away from direct sunlight and excessive vibration.
Remove the shipping restraints from the tonearm and secure the platter onto the spindle. Connect the RCA output cables to your amplifier or powered speakers. Do not yet connect the USB cable. Initial setup focuses on mechanical assembly and ensuring proper grounding before powering on and configuring digital recording options.
Component Overview
The AT-LP120-USB features a direct-drive motor, ensuring consistent platter speed for accurate playback. Key components include the adjustable counterweight on the tonearm, vital for tracking force adjustment, and the anti-skate control, minimizing distortion. The included USB connectivity allows for direct vinyl-to-digital recording.
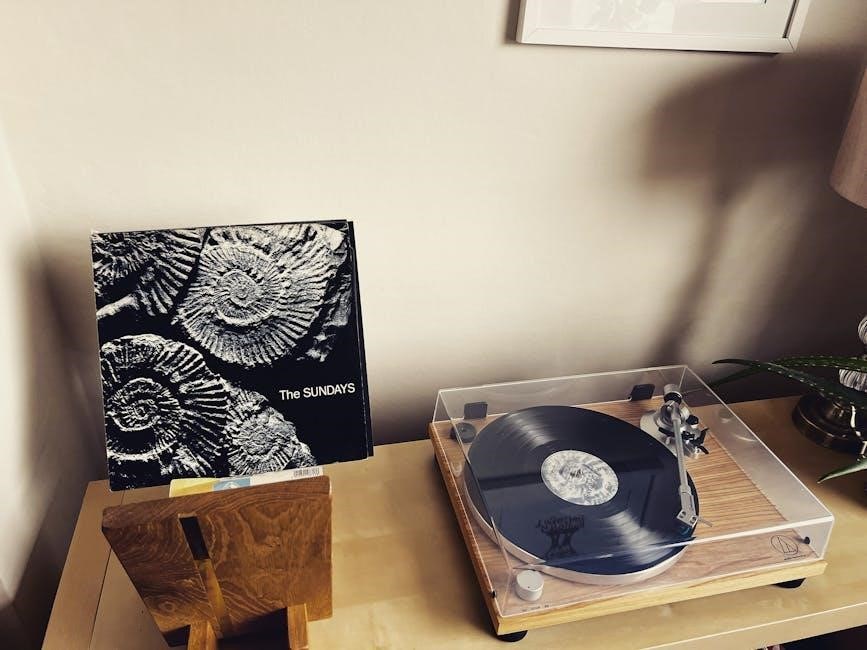
The turntable base houses the motor and controls, while the detachable dust cover protects the platter and stylus. Familiarize yourself with the 33/45/78 RPM selector switch and pitch control slider. Understanding each component’s function is crucial for optimal setup and operation.
Turntable Base and Platter
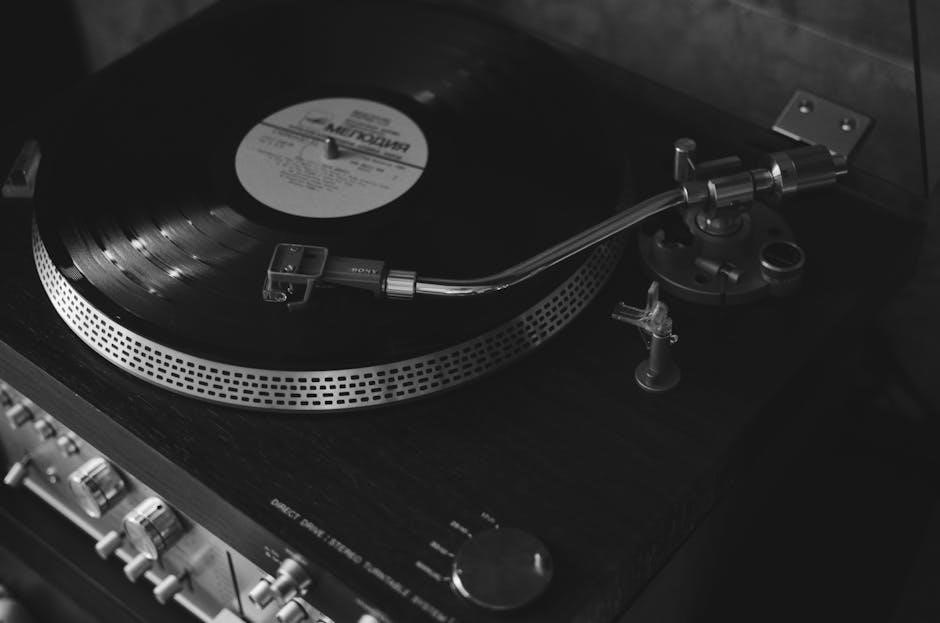
The AT-LP120-USB’s base provides a stable foundation, housing the direct-drive motor responsible for consistent rotation. Its robust construction minimizes vibrations, crucial for accurate sound reproduction. The platter itself is die-cast aluminum, offering significant mass for stable speed and reduced wow and flutter.
A felt mat rests on the platter, preventing slippage and reducing static. The platter’s rotation speed is selectable via the RPM switch. Regularly cleaning both the base and platter ensures optimal performance and longevity of your turntable system.
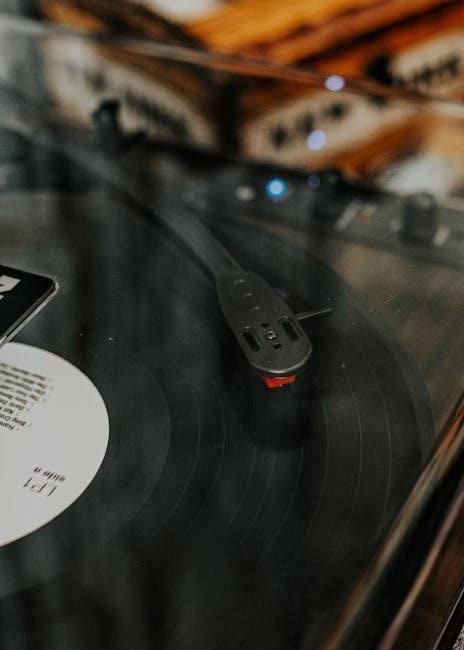
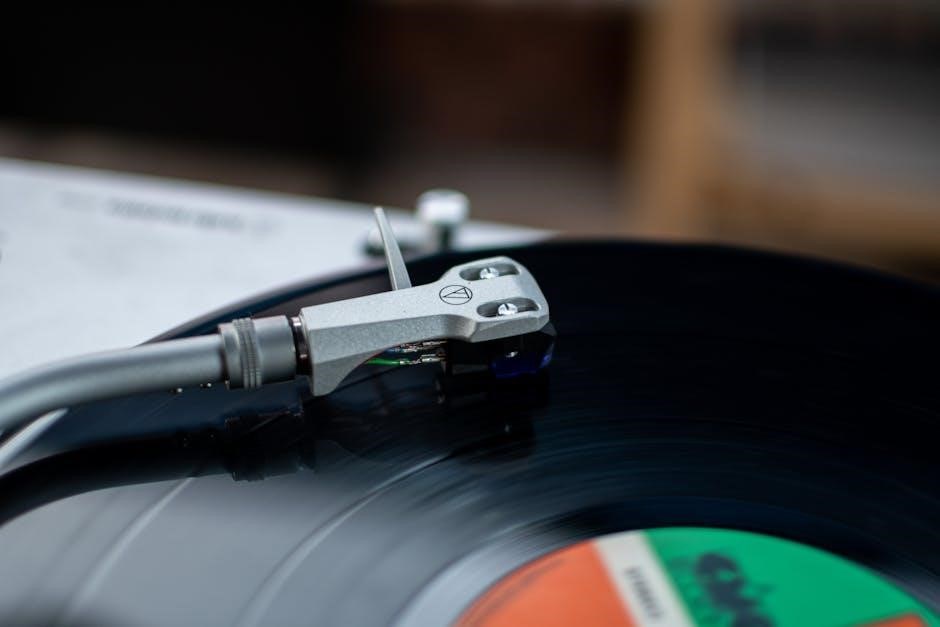
Tonearm and Cartridge
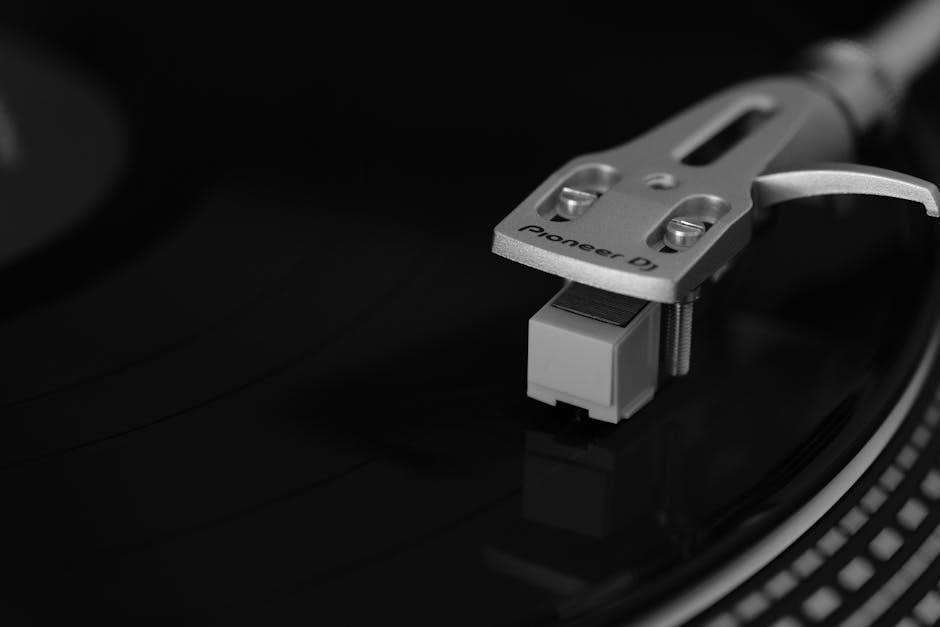
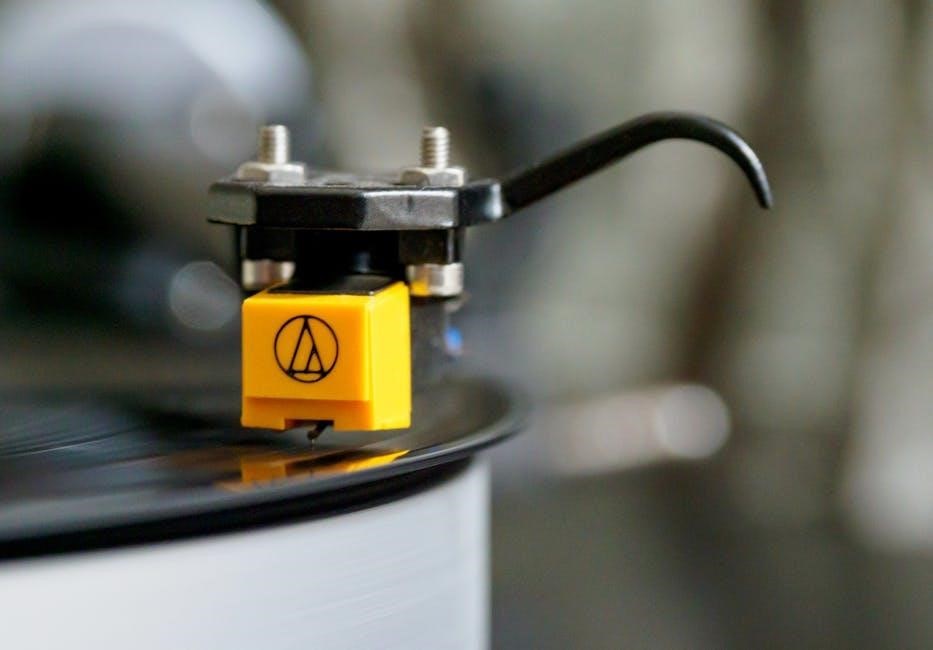
The AT-LP120-USB features a static balanced tonearm, designed for precise tracking and minimal resonance. Its adjustable counterweight allows for accurate setting of tracking force, vital for preventing record wear and optimizing sound quality. The included AT-VS95E cartridge is a versatile option, delivering clear and detailed audio.
The tonearm incorporates an anti-skate control, counteracting the inward force during playback. Careful adjustment of both tracking force and anti-skate is essential for balanced stereo imaging and reduced distortion. Regular inspection of the cartridge and stylus is recommended.
USB Connectivity and Software
The AT-LP120-USB facilitates direct connection to computers via a built-in USB port, enabling vinyl digitization. This allows for easy recording of records using included software or preferred audio editing programs. The turntable is class-compliant, generally requiring no driver installation on Windows or macOS systems.
Software options often include Audacity, a free and open-source audio editor, or other digital audio workstations (DAWs). Users can adjust recording levels and formats within the software to achieve desired audio quality. Troubleshooting USB connection issues may involve checking cable integrity and software settings.
Setting Up the Turntable
Proper setup is crucial for optimal performance and longevity of your AT-LP120-USB. Begin by connecting the turntable to a power outlet and your chosen speakers or receiver. Ensure correct grounding to minimize hum. Next, carefully adjust the tracking force using the counterweight, matching the cartridge manufacturer’s specifications.
Simultaneously, set the anti-skate control to the same value as the tracking force. Precise cartridge alignment is vital; utilize a protractor for accurate positioning. These initial adjustments significantly impact sound quality and prevent record wear, ensuring a fulfilling listening experience.
Connecting to Power and Speakers

Before operation, securely connect the provided power adapter to the AT-LP120-USB and a suitable power outlet. For audio output, you have several options: connect the RCA cables to a receiver or powered speakers. Remember to connect the ground wire to the receiver’s grounding terminal to reduce potential hum.
Alternatively, utilize the built-in USB port for direct connection to a computer for digitizing records. Ensure all connections are firm to prevent signal loss or interference. Proper grounding is essential for clean audio reproduction and minimizing unwanted noise.
Adjusting the Tracking Force and Anti-Skate
Proper tracking force is crucial for sound quality and vinyl longevity. Use a stylus force gauge to accurately set the tracking force according to your cartridge manufacturer’s specifications, adjusting the counterweight on the tonearm.
Anti-skate compensates for the inward pull on the tonearm during playback. Set the anti-skate dial to match the tracking force. Incorrect settings can cause channel imbalance or excessive wear. Regularly check and readjust these settings for optimal performance and to prevent damage to your valuable vinyl records.
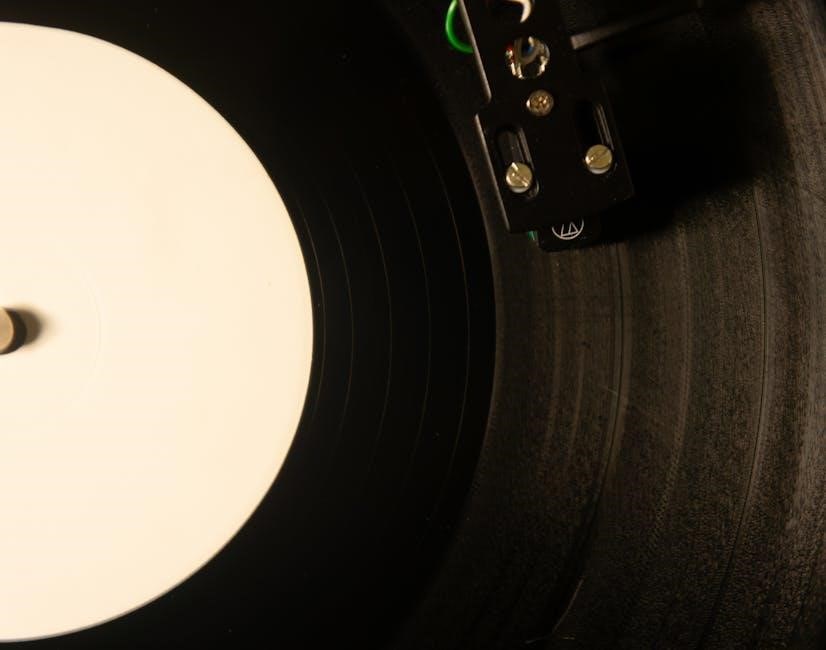
Cartridge Alignment
Precise cartridge alignment is vital for accurate tracking and minimizing distortion. Utilize a protractor – available online or as a physical tool – to ensure the cartridge is correctly aligned with the record grooves. This involves adjusting the cartridge’s overhang and angle within the headshell.
Proper alignment minimizes wear on both the stylus and vinyl. Carefully follow the protractor’s instructions, making small adjustments until the cartridge aligns perfectly. Re-check alignment after any handling or adjustments to maintain optimal sound reproduction and protect your record collection.
Operating the AT-LP120-USB
The AT-LP120-USB offers versatile playback options and control features. Begin by selecting the appropriate speed – 33, 45, or 78 RPM – based on your record type. Utilize the pitch control slider for subtle speed adjustments, and the fine pitch adjustment for even more precise control.
The start/stop button initiates and halts playback, while the cueing lever allows you to gently lower and raise the tonearm for precise track selection. Familiarize yourself with these controls to enjoy a seamless and optimized listening experience with your vinyl collection.
Playback Functions: 33/45/78 RPM
The AT-LP120-USB accommodates various record speeds with dedicated settings. The 33 RPM setting is standard for LPs, while 45 RPM is used for singles. For older 78 RPM shellac records, select the corresponding speed.
Ensure the correct speed is chosen before lowering the tonearm to prevent damage to your records and ensure accurate playback. The speed selector switch is clearly labeled for easy identification. Proper speed selection is crucial for enjoying your vinyl collection as intended, preserving the artist’s original sound.
Pitch Control and Fine Pitch Adjustment
The AT-LP120-USB features pitch control for adjusting playback speed. This allows for subtle tempo changes or correcting minor speed inaccuracies. The pitch control slider offers a wide range of adjustment. For precise tuning, utilize the fine pitch adjustment button.
This feature is particularly useful when beatmatching for DJing or restoring recordings. Experiment with small adjustments to find the optimal pitch for your listening preference. Remember that significant pitch changes can affect the audio quality and duration of the track.
Start/Stop Button and Cueing Lever
The Start/Stop button initiates and halts platter rotation for immediate playback control. The cueing lever gently lowers and raises the tonearm, preventing damage to both the stylus and vinyl. Lowering the arm slowly ensures accurate track positioning.
Utilize the cueing lever to preview sections of a record without dropping the needle abruptly. This is essential for precise cueing, especially for DJing or finding specific points within a track. Proper use extends the life of your stylus and preserves your valuable vinyl collection.
Digitizing Vinyl Records with USB
The AT-LP120-USB allows direct conversion of vinyl to digital formats via its built-in USB port. This feature requires installing compatible recording software on your computer, enabling you to archive and enjoy your record collection digitally.
Connecting the turntable is straightforward; simply use a USB cable. Software configuration involves selecting the AT-LP120-USB as the audio input device. Adjust recording settings like sample rate and bit depth to optimize audio quality. Troubleshooting connection issues often involves checking cable integrity and driver installations.
Installing and Configuring Recording Software
To digitize vinyl, compatible recording software is essential. Audacity is a popular, free option, while others like WavePad offer more advanced features. Installation is typically a standard software process, following on-screen prompts.
Configuration involves selecting the AT-LP120-USB as the audio input device within the software’s settings. Ensure the correct input channel is chosen. You may need to adjust audio settings within your computer’s sound control panel as well. Proper configuration guarantees clear audio capture from your vinyl records.
Recording Settings and Audio Quality
Optimal recording settings are crucial for high-quality digital transfers. A sample rate of 44.1kHz or 48kHz and a bit depth of 16-bit are standard for CD-quality audio. For archival purposes, consider 24-bit for greater dynamic range.
Monitor the recording level to avoid clipping (distortion). Adjust input gain to achieve a strong signal without peaking. Experiment with different settings to find the sweet spot for your records. Noise reduction tools within the software can minimize clicks and pops, but use them sparingly to preserve audio fidelity;
Troubleshooting USB Connection Issues
If the AT-LP120-USB isn’t recognized, first check the USB cable and port. Try a different USB port on your computer, ensuring it’s a USB 2.0 or 3.0 port. Verify the turntable is powered on during connection. Reinstalling the audio drivers can often resolve recognition problems.
Ensure your recording software is configured to use the AT-LP120-USB as the audio input device. If issues persist, consult the Audio-Technica support website for updated drivers and troubleshooting guides. A faulty USB cable can also cause intermittent connection problems.
Maintenance and Troubleshooting
Regular maintenance ensures optimal performance and longevity of your AT-LP120-USB. Gently clean the turntable and platter with a soft, dry cloth. The stylus requires periodic cleaning using a stylus brush to remove dust and debris, preventing audio distortion. Address common issues like hum by checking grounding connections and cable placement.
Distortion can stem from a dirty stylus or improper tracking force. Skipping may indicate a damaged record or incorrect anti-skate settings. Always consult the manual for detailed troubleshooting steps before attempting repairs.
Cleaning the Turntable and Stylus
Maintaining cleanliness is crucial for optimal audio quality and preventing damage. Regularly dust the turntable base and platter with a soft, dry, anti-static cloth. Avoid using liquids directly on the turntable. For the stylus, utilize a dedicated stylus brush, gently brushing from back to front to remove dust and debris.
Never apply excessive force when cleaning the stylus, as this can cause damage. Periodic cleaning, even after a few records, will significantly improve sound and extend the stylus’s lifespan. A clean stylus ensures accurate tracking and minimizes distortion.
Addressing Common Issues (Hum, Distortion, Skipping)
Several issues can arise; here’s how to address them. Hum often indicates grounding problems – ensure proper connections to grounded speakers or a preamp. Distortion can stem from a dirty stylus, incorrect tracking force, or a worn cartridge. Skipping usually points to insufficient tracking force, an unbalanced tonearm, or a warped record.
Carefully check all connections and settings. If problems persist, consult the troubleshooting section of the full user manual or seek assistance from a qualified technician. Remember to always handle the stylus with care.
Replacing the Stylus
Stylus replacement is crucial for maintaining audio quality and preventing record damage. Gently remove the stylus guard before attempting replacement. Using a small brush, carefully clean the cartridge area. Align the new stylus with the mounting points and gently push it into place until it clicks – avoid excessive force.
Ensure the stylus is securely seated. Reinstall the stylus guard when not in use. Regular stylus replacement, typically every 500-1000 hours of playback, preserves both your records and the turntable’s performance.
Advanced Features and Customization
The AT-LP120-USB offers customization options for audiophiles. Adjusting the Vertical Tracking Angle (VTA) fine-tunes the stylus angle for optimal sound. Upgrading the cartridge unlocks superior audio fidelity, matching your listening preferences. Explore various phono preamp options to enhance signal quality and compatibility with your audio system.
These advanced features allow tailoring the turntable’s performance. Experimenting with these settings can significantly improve the listening experience, revealing nuances in your vinyl collection. Remember to consult resources for proper adjustment techniques.
Adjusting Vertical Tracking Angle (VTA)
VTA impacts sound quality by influencing the stylus’s angle within the record groove. The AT-LP120-USB allows VTA adjustment via the height-adjustable tonearm base. Raising or lowering the base alters the angle. Listen for improvements in clarity and detail; a properly adjusted VTA minimizes distortion.
Begin by playing a familiar track. Adjust the VTA incrementally, listening for changes. If the sound is dull, raise the arm. If it’s harsh, lower it. Subtle adjustments yield noticeable results. Careful VTA tuning optimizes the cartridge’s performance.
Upgrading the Cartridge
The AT-LP120-USB’s modular design facilitates cartridge upgrades for enhanced audio fidelity. Replacing the cartridge can significantly improve sound quality, offering greater detail and accuracy. Ensure the new cartridge is compatible with the turntable’s headshell and tracking force range.
Carefully disconnect the existing cartridge’s wires, noting their positions. Mount the new cartridge securely, aligning it properly. Adjust tracking force and anti-skate according to the cartridge manufacturer’s recommendations. Upgrading unlocks the turntable’s full potential.
Understanding Phono Preamp Options
The AT-LP120-USB features a built-in phono preamp, allowing connection to standard line-level inputs. However, external phono preamps offer potential sonic improvements. These devices amplify the weak signal from the cartridge, providing cleaner and more detailed sound.
Switching to an external preamp requires disabling the turntable’s internal preamp via the rear switch. Experimenting with different preamps can refine your listening experience. Consider factors like gain, equalization curves, and overall sound signature when choosing an external phono preamp for optimal results.